Quick Start
Part 1 gets the ProPatch powered, found, and switching relays. Part 2 routes one source to one destination. Start with just those two Devices.
What you need
- Your ProPatch and its included power supply (read the warning in Hardware Reference first)
- A Mac or Windows computer with Wolffhound installed from Wolff Audio's ProPatch setup page
- An Ethernet cable and a network connection
- One known-good source, one known-good destination, and the cables or DB25 breakout to connect them
Part 1: Get the unit online
Do Part 1 with nothing critical patched and your monitors turned down. Loading the Demo Session switches the relays on a real unit.
- Connect the included power supply to either rear USB-C port, A or B, and turn the unit on.
- Wait for the power indicator to settle to steady green. If it doesn't, stop and see LED states.
- Connect Ethernet to the rear jack labeled Control, not Dante (reserved for future functionality).
- Open Wolffhound and wait for the unit's tab to appear, then click it.
- Open the Session selector (top left) and choose Demo.
- Click the round activate button at the left of an active Chain's header to turn the Chain off, then click it again to turn it back on.
You should hear the relays click. The click proves the unit is taking commands. Success!
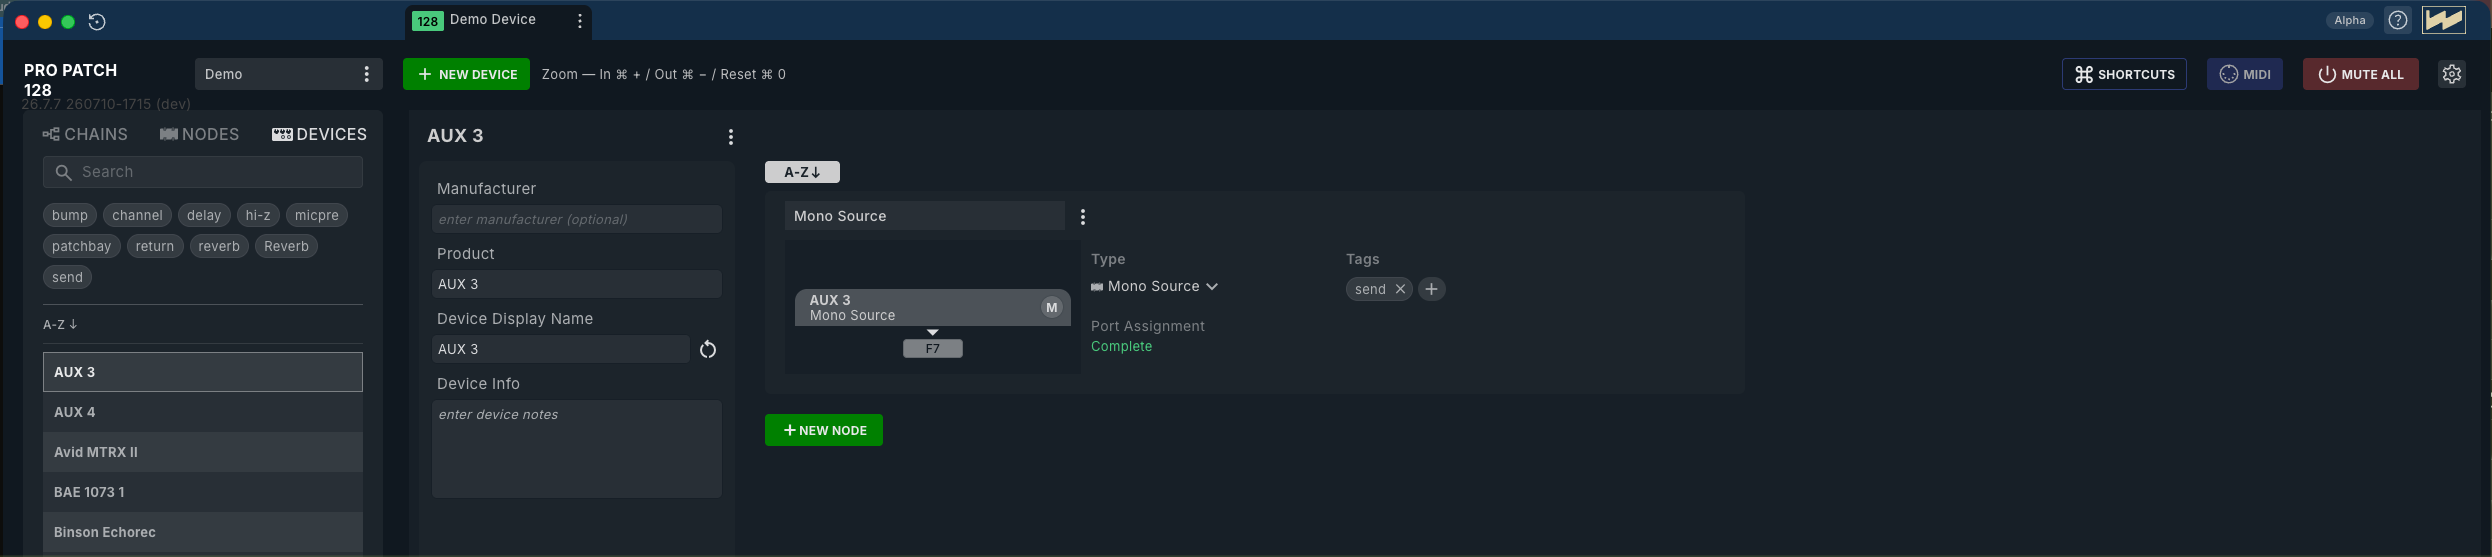
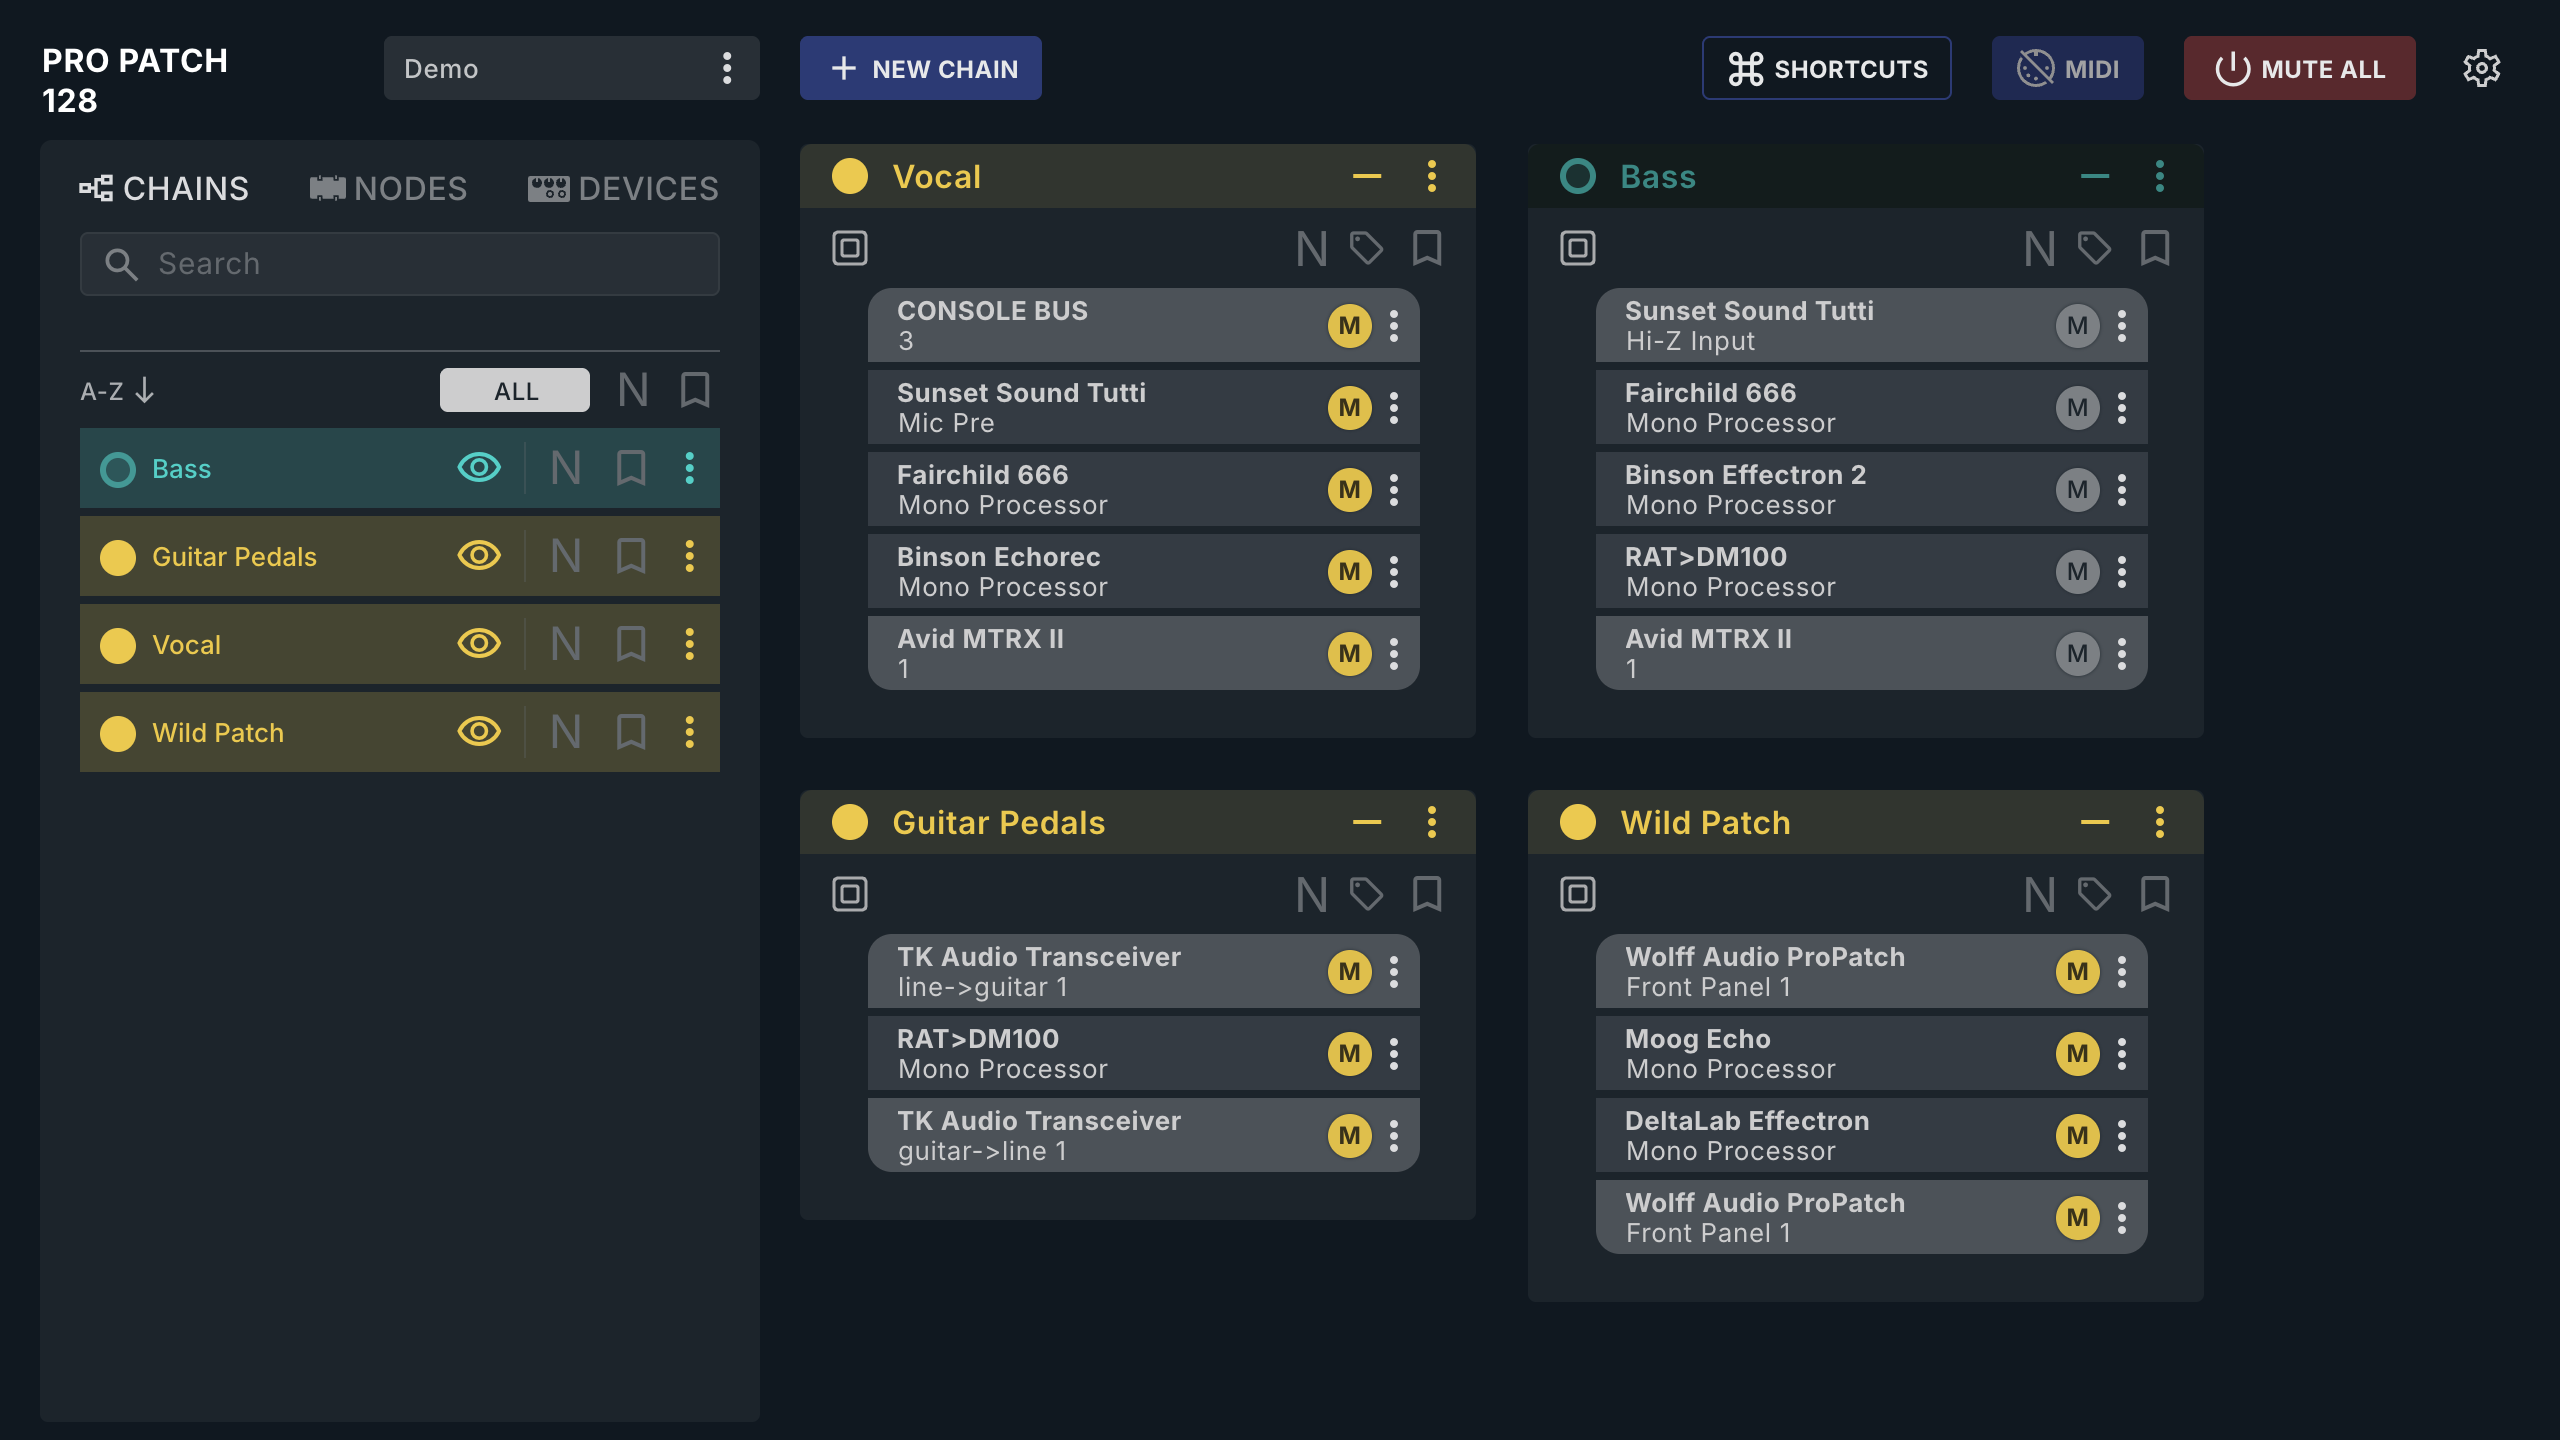
If no tab appears, see Troubleshooting.
Part 2: Route your first signal
A Device is anything connected to the ProPatch, a Node is one signal path through it, and a Chain connects Nodes into a signal path (How ProPatch Works).
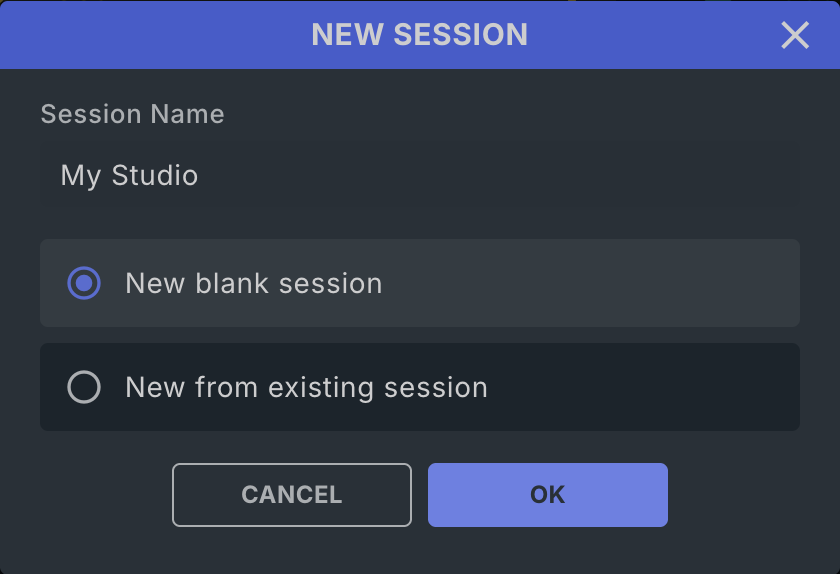
The Demo Session is read-only, so start your own: open the Session selector, choose New Session, enter a Session Name, and click OK.
Cable it
Connect a known-good source to a rear channel labeled IN FROM DEVICE, and a known-good destination to a rear channel labeled OUT TO DEVICE.
A good first test is a loop through your audio interface: connect one of its D/A outputs to an IN FROM DEVICE channel, and an OUT TO DEVICE channel to one of its A/D inputs. You can then play audio from your DAW out through the ProPatch and record it coming back.
Write down the Port IDs of the ProPatch channels you used, for example A1 in and A1 out.
Create the source Device
- Open the DEVICES browser.
- Click + NEW DEVICE. In the CREATE DEVICE dialog, enter a Device Display Name (required) and click OK.
- The new Device has one Node. Set its Type to Mono Source (or Stereo Source).
- Click the In (from) port button and pick the channel you cabled, such as Port A › A1.
- Confirm Port Assignment reads Complete.
Create the destination Device
Repeat the steps above with Type set to Mono Destination (or Stereo Destination) and the Out (to) port set to the destination's channel.
Build and activate the Chain
- Open the NODES browser. The header button now reads + NEW CHAIN.
- Click + NEW CHAIN. The Chain appears named
Untitledwith its name ready to edit; type a name and press Enter. - Click SOURCES and double-click your source Node, or drag it into the new Chain.
- Click DESTINATIONS and double-click or drag your destination Node.
Once the Chain has a source and a destination, it activates automatically: the round activate button at the left of the Chain header turns green.
If you hear the relays click when the Chain activates, the ProPatch is doing its routing job. If you then hear no audio, the problem is most likely in the cabling or signal routing outside the ProPatch. Check the cabled Port IDs against the Node assignments, then see Troubleshooting.
Open the Session selector and choose Save to keep your work. To add processors, see Chains.
Next: learn how the pieces fit together in How ProPatch Works.